צעד אחרי צעד: הוספת הצ'אטבוט לאתר עם Google Tag Manager
הוסיפו את הצ'אטבוט לאתר שלכם במספר שלבים פשוטים עם Google Tag Manager:
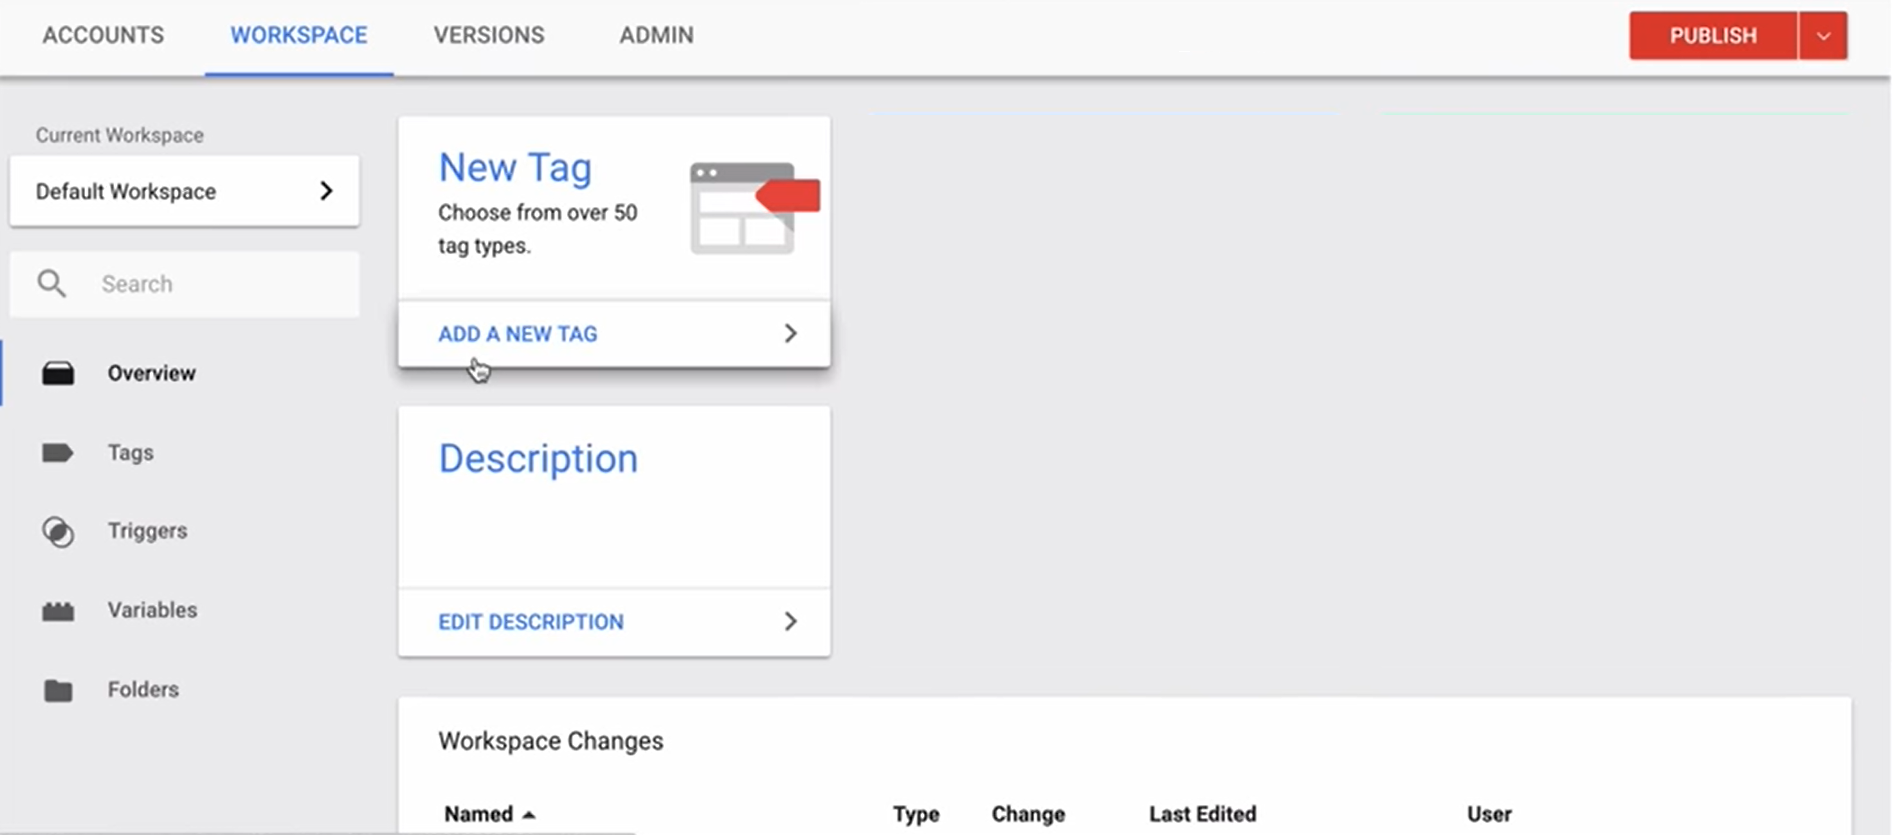
הערה: את קוד ה-HTML תוכלו למצוא בממשק ניהול הצ'אטבוט תחת "הוספה לאתר".1. כנס ללוח הבקרה של הGoogle Tag Manager שלך.
הוסף "new tag"
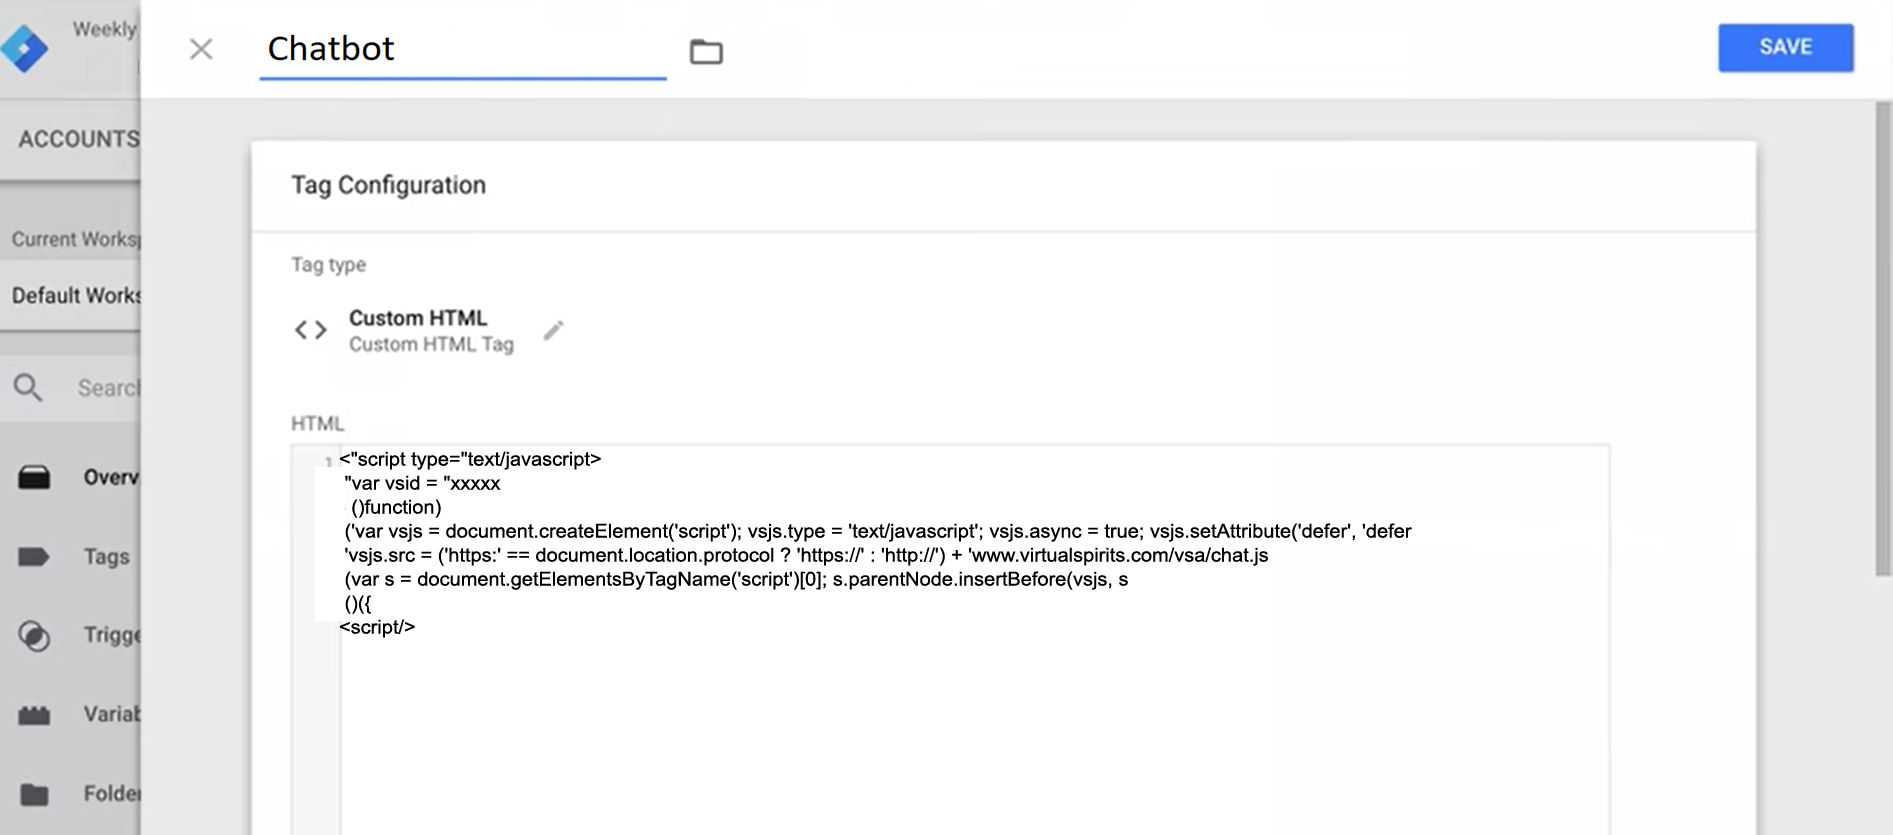
2. קרא לו "chatbot"
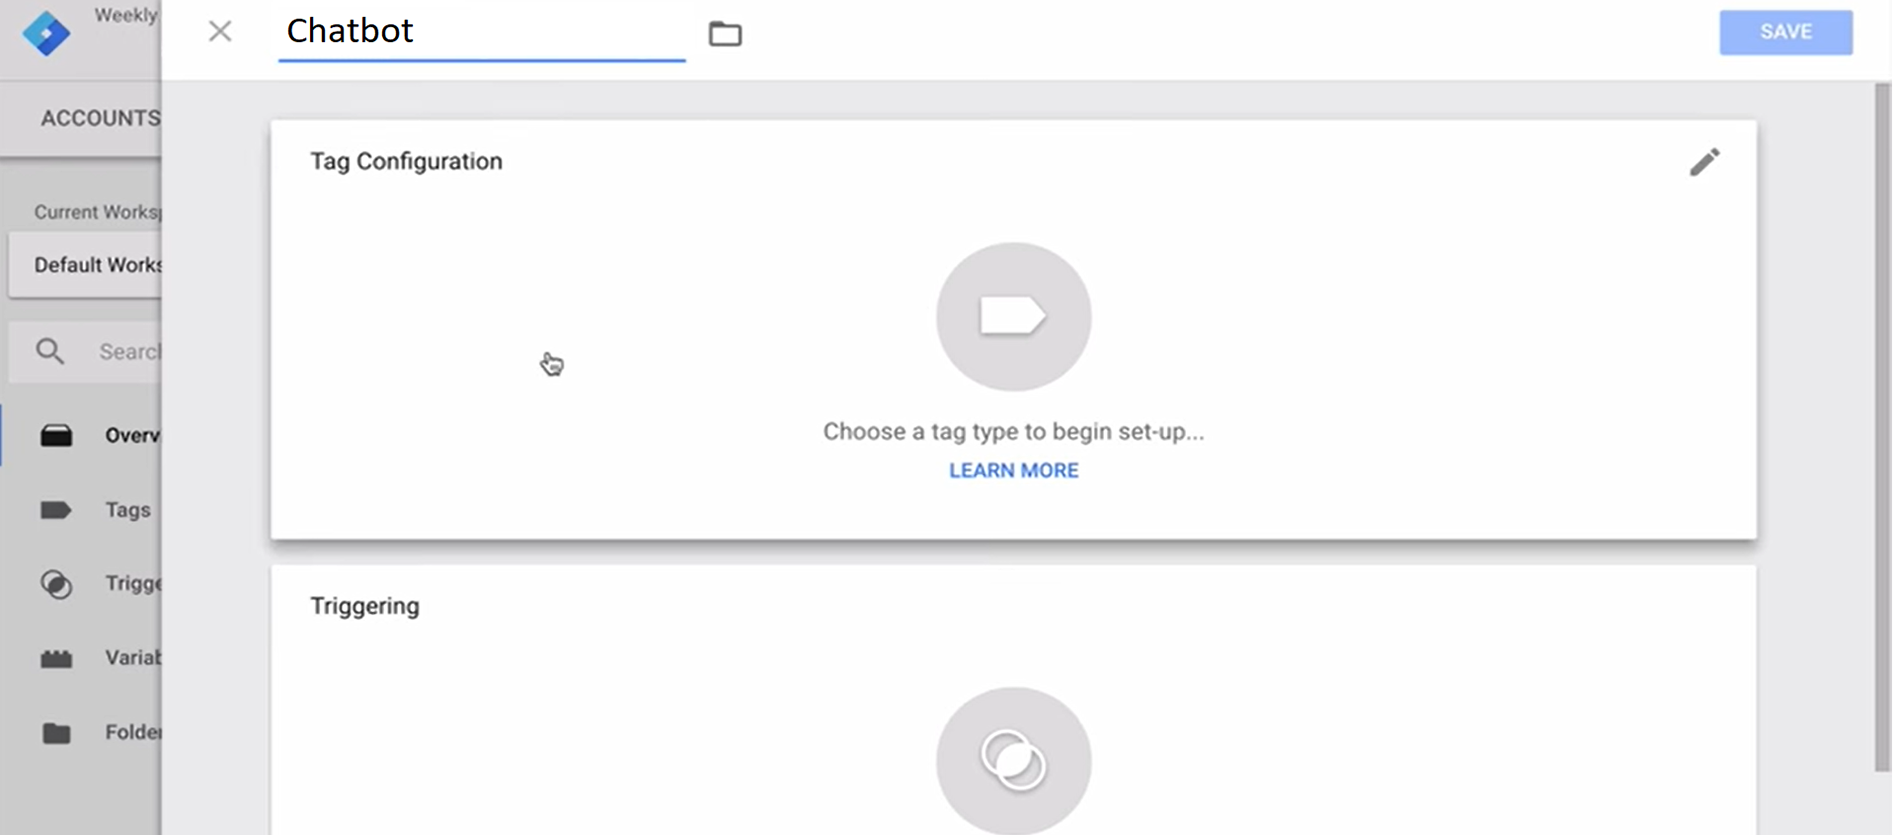
3. לחץ על לשונית הגדרת הטג.
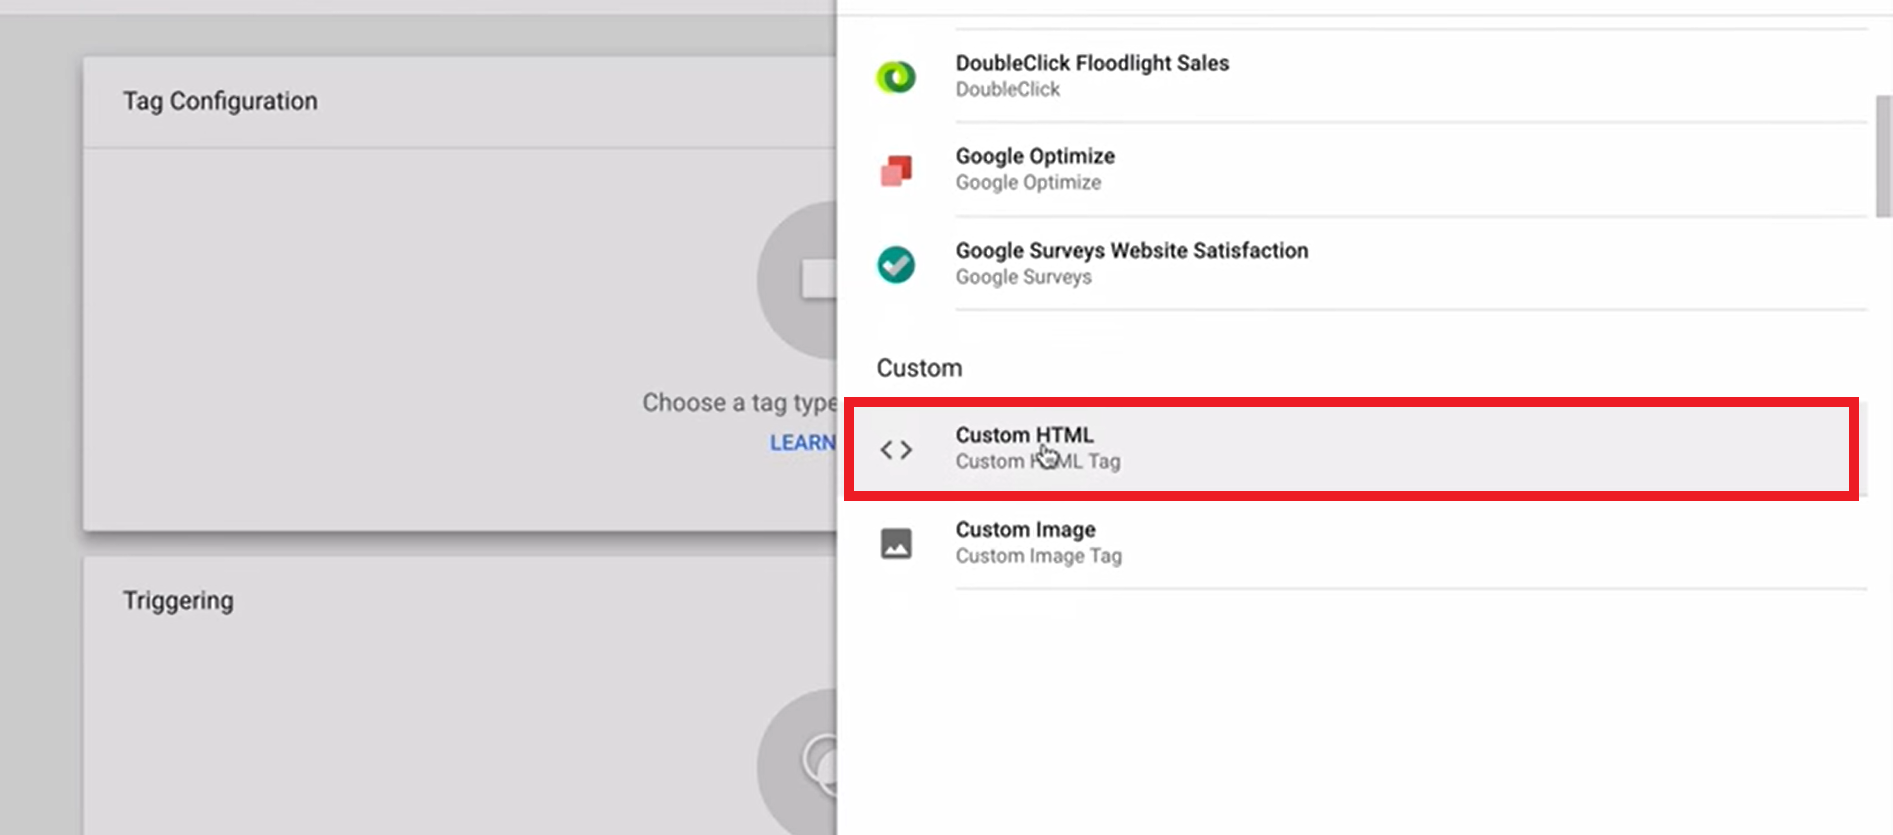
בחר את האפשרות "custom HTML" .
4. הדביקו מעליו את קוד ה-HTML של הצ'אטבוט.
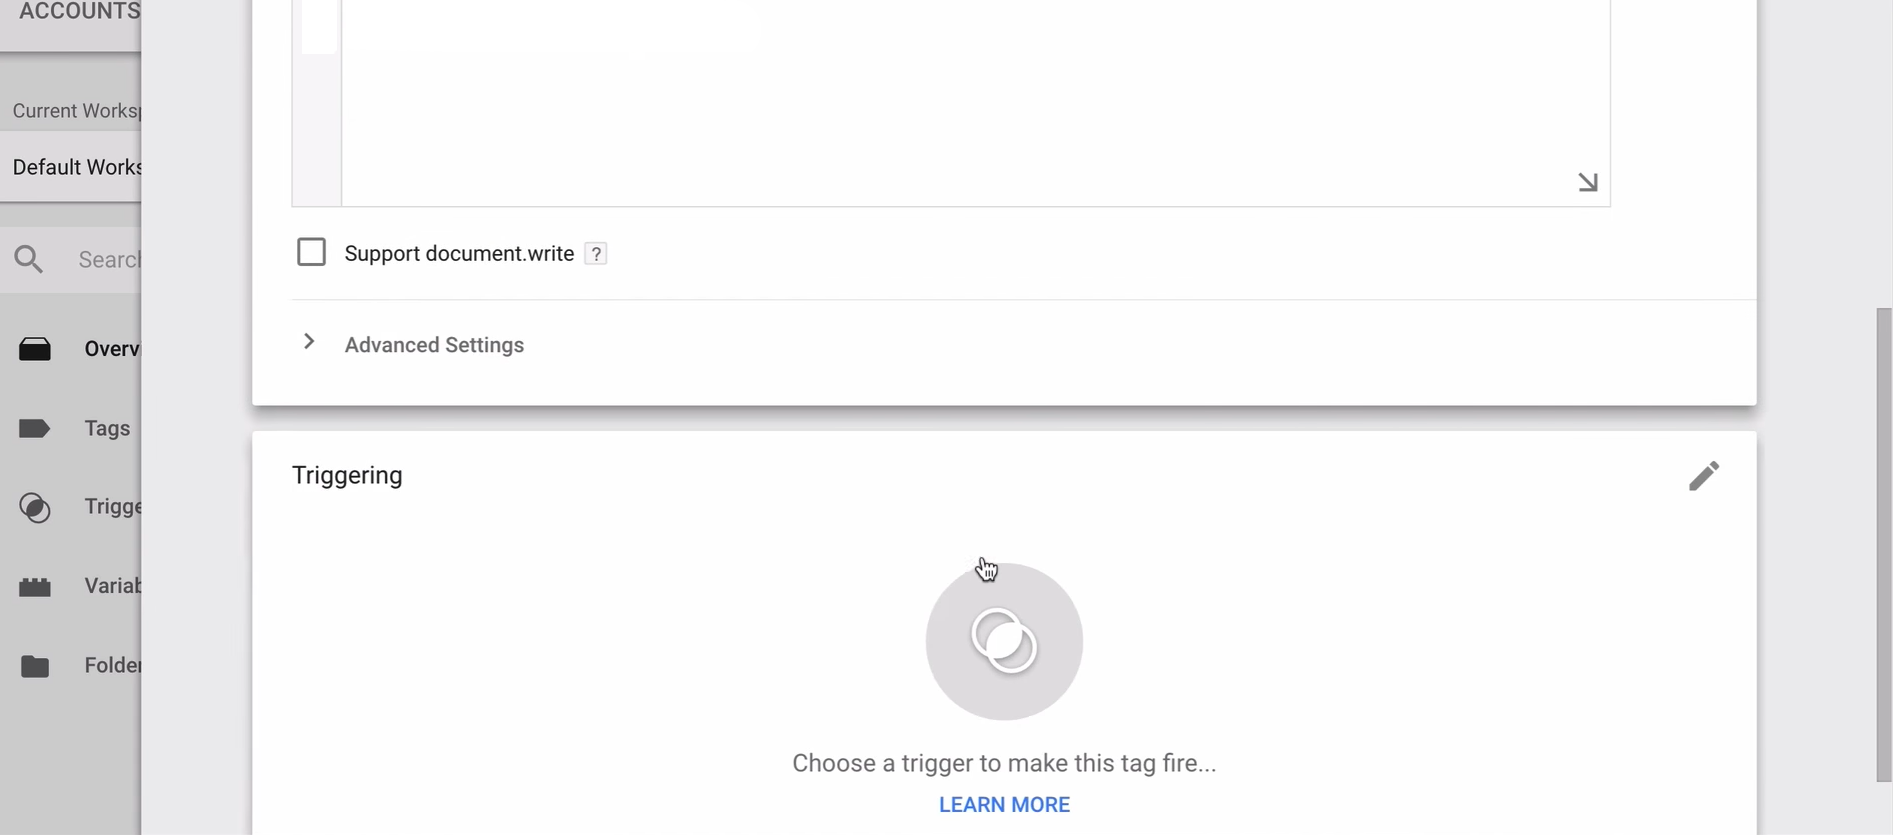
5. חץ על הלשונית טריגרים
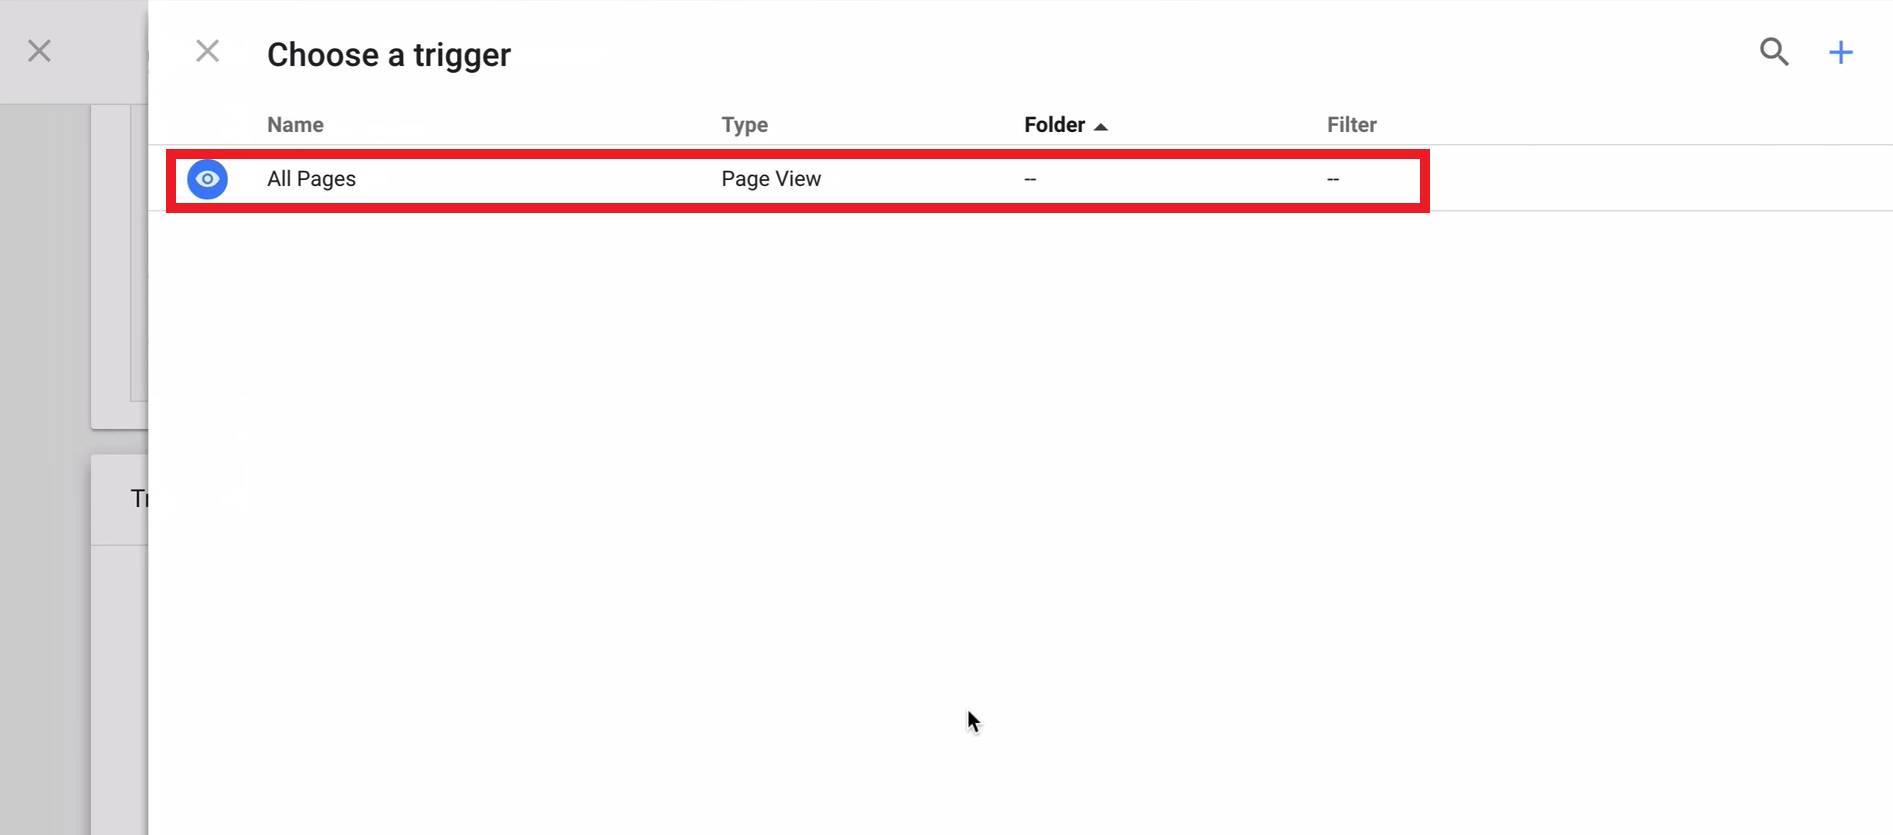
6. בחר את האפשרות "all pages".
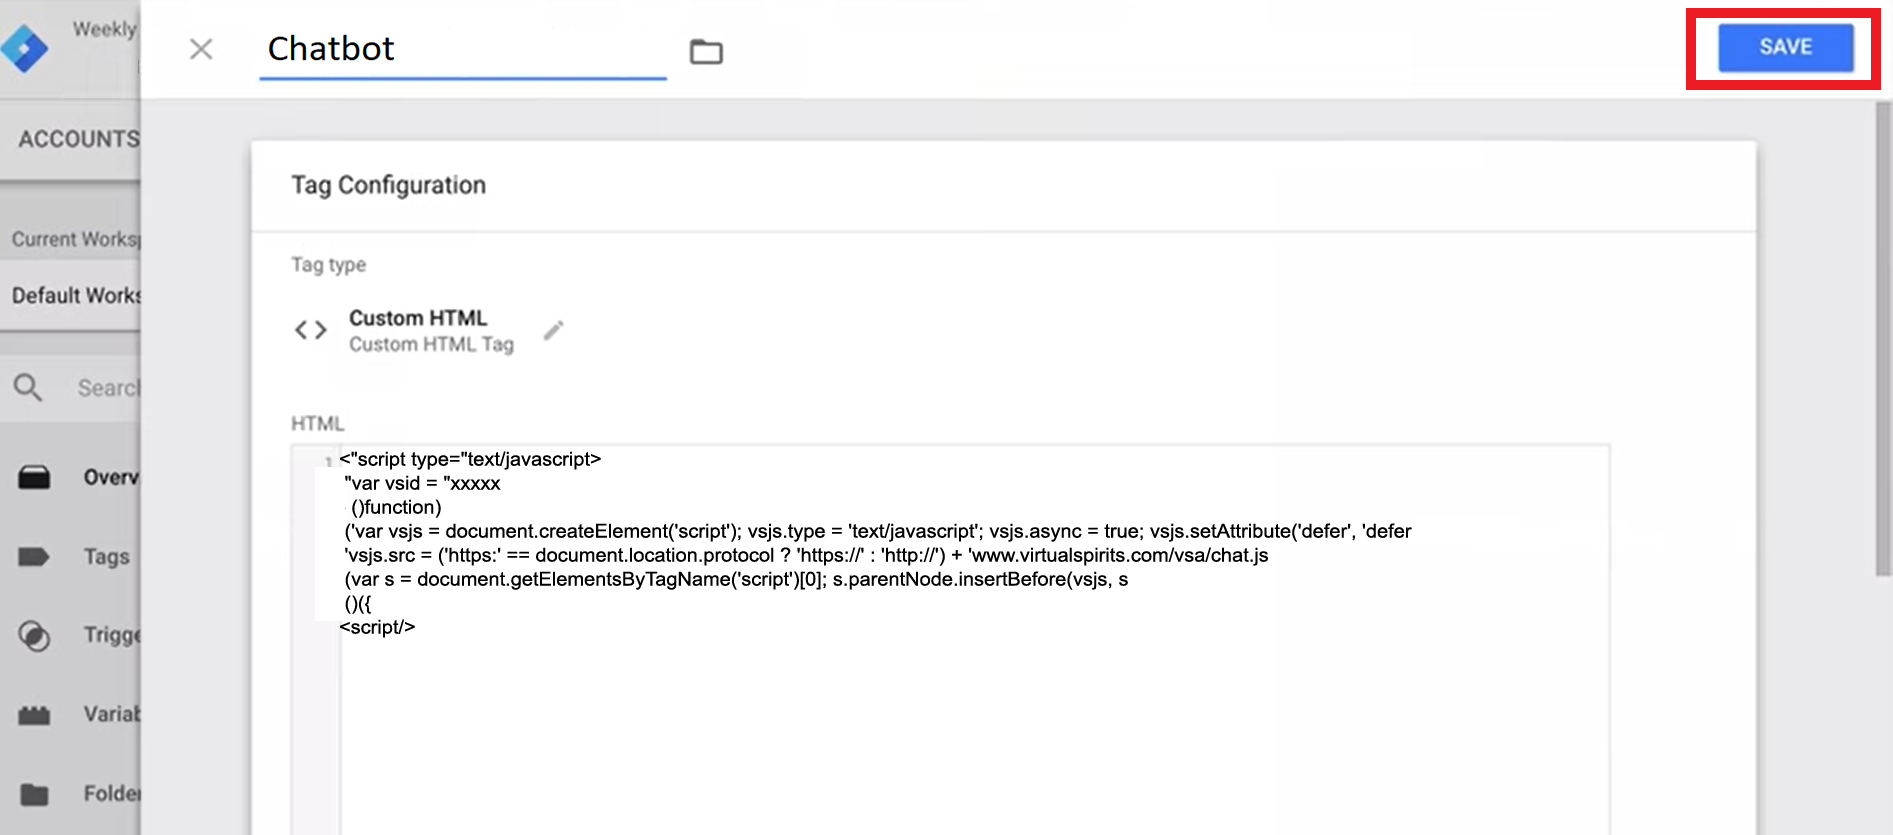
7. לחץ על "Save" בכדי לשמור את הטג החדש.
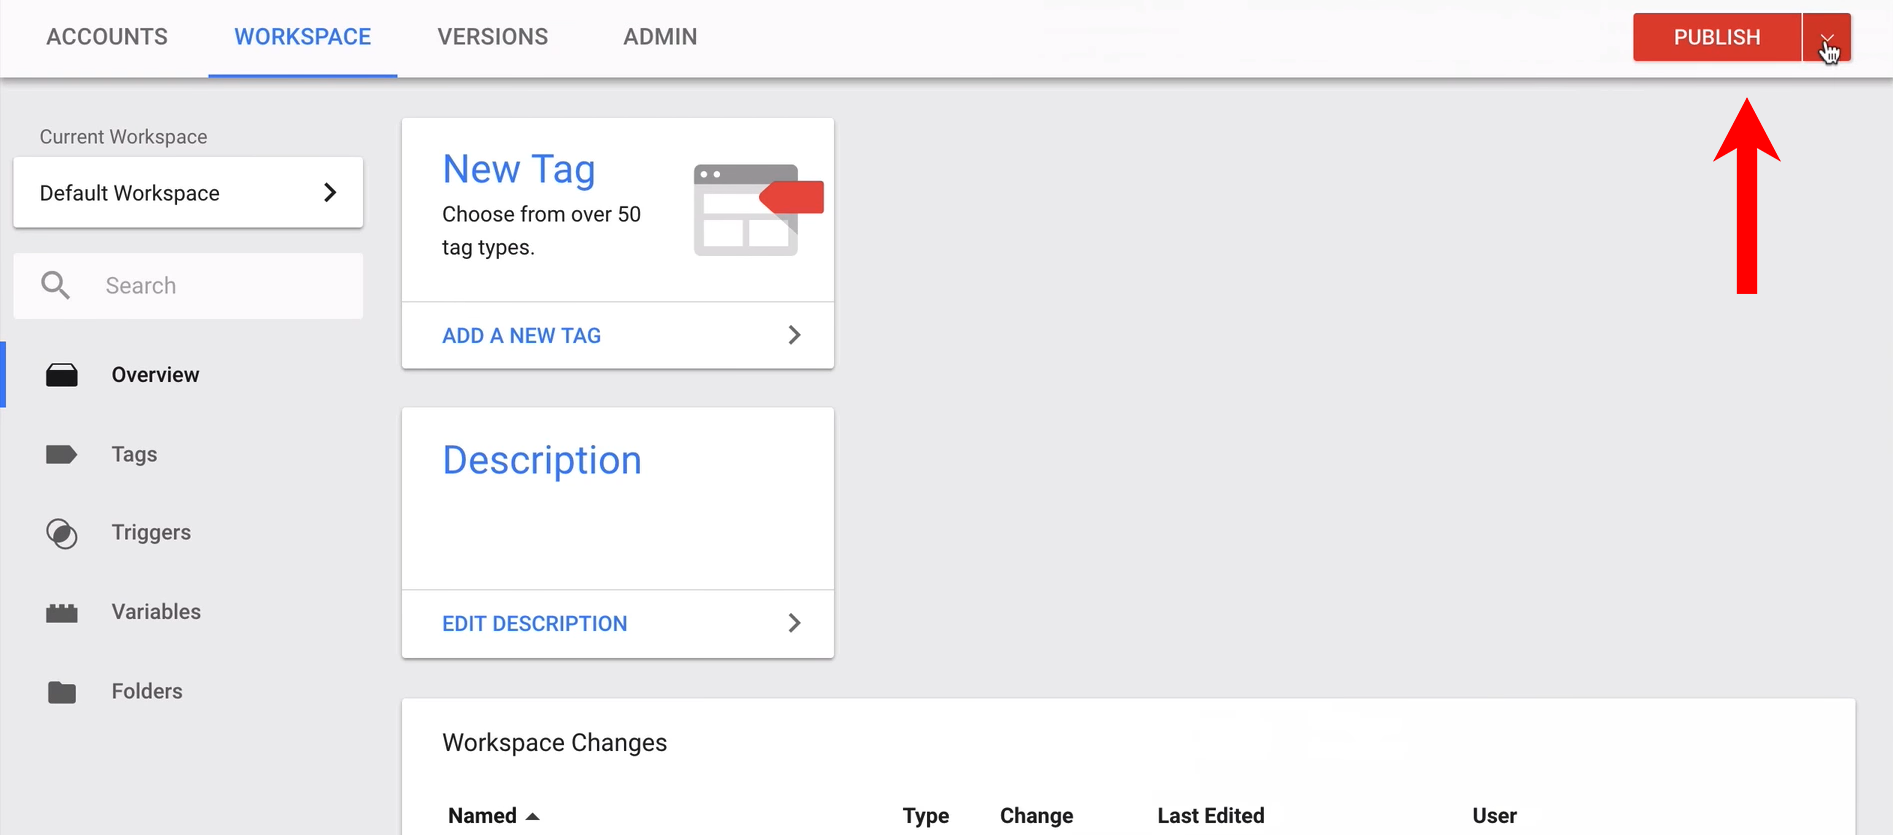
8. לחץ על "publish" בצידו העליון ימני של המסך בכדי להפעיל אותו באתרך.